Start with a content inventory, not a blank page
Quick answer
A website content checklist is a page-by-page list of the facts, copy, proof, images and approvals needed for a website to be useful. For each item, note what the visitor needs to know, where the information came from, who can approve it and whether it is ready. That turns scattered notes, phone photos and staff knowledge into something a website can honestly use.
Website projects do not usually stall because someone cannot choose a button color. They stall because the service list is incomplete, the hours changed last year, a promised feature has no owner, or the only usable team photo is on a former employee's phone. A content inventory finds those gaps while they are still easy to solve.
Begin with the customer action. A business that needs estimate requests needs different information from a restaurant taking catering orders or a firm answering existing-client questions. The website planning template helps settle that job first. This checklist picks up where the plan leaves off: it makes sure every important page has the material it needs.
Download the copy-and-paste website content checklist. Use one row for every page or important section. Do not wait for polished prose. A rough, truthful note that names the missing detail is more useful than filler copy that someone has to unwind later.
1. Write the facts customers need to act on
Put the business facts in one working document before they appear across a homepage, footer, service page or contact form. Write the legal business name, public phone number, email, address, hours, service area, social profiles and the person who answers each route. If a detail is not meant to be public, label it rather than assuming it belongs on the site.
Then capture each main offer in customer language. For every service or product, explain what it is, who it is for, what is included, what affects the price or timing, and what happens next. Include the questions the business hears repeatedly. A broad phrase such as “quality solutions” gives a visitor nothing to compare. A plain answer about the service, limits and next step gives them a reason to continue.
Mark claims that need proof. “Licensed,” “same-day,” “locally owned,” “insured” and “award-winning” can build confidence when they are accurate and specific. They damage trust when no one can confirm them. The guide to building trust on a website shows how to put real evidence near the decision it supports.
- Exact business name, public contact details, hours and service area.
- A short, accurate description for every main service or product.
- Price, starting price, range or a clear explanation of what determines the quote, when the business is comfortable sharing it.
- The main customer questions, constraints and next step for each offer.
- The source and approver for every claim that could affect a buying decision.
2. Gather proof that belongs on the page
A website does not need a trophy shelf to be credible. It needs the right evidence in the right place. Gather real project photos, product images, team details, credentials, testimonials with permission, reviews the business is allowed to quote, process details and before-and-after work where it tells the truth. Write down what each item proves and where it should appear.
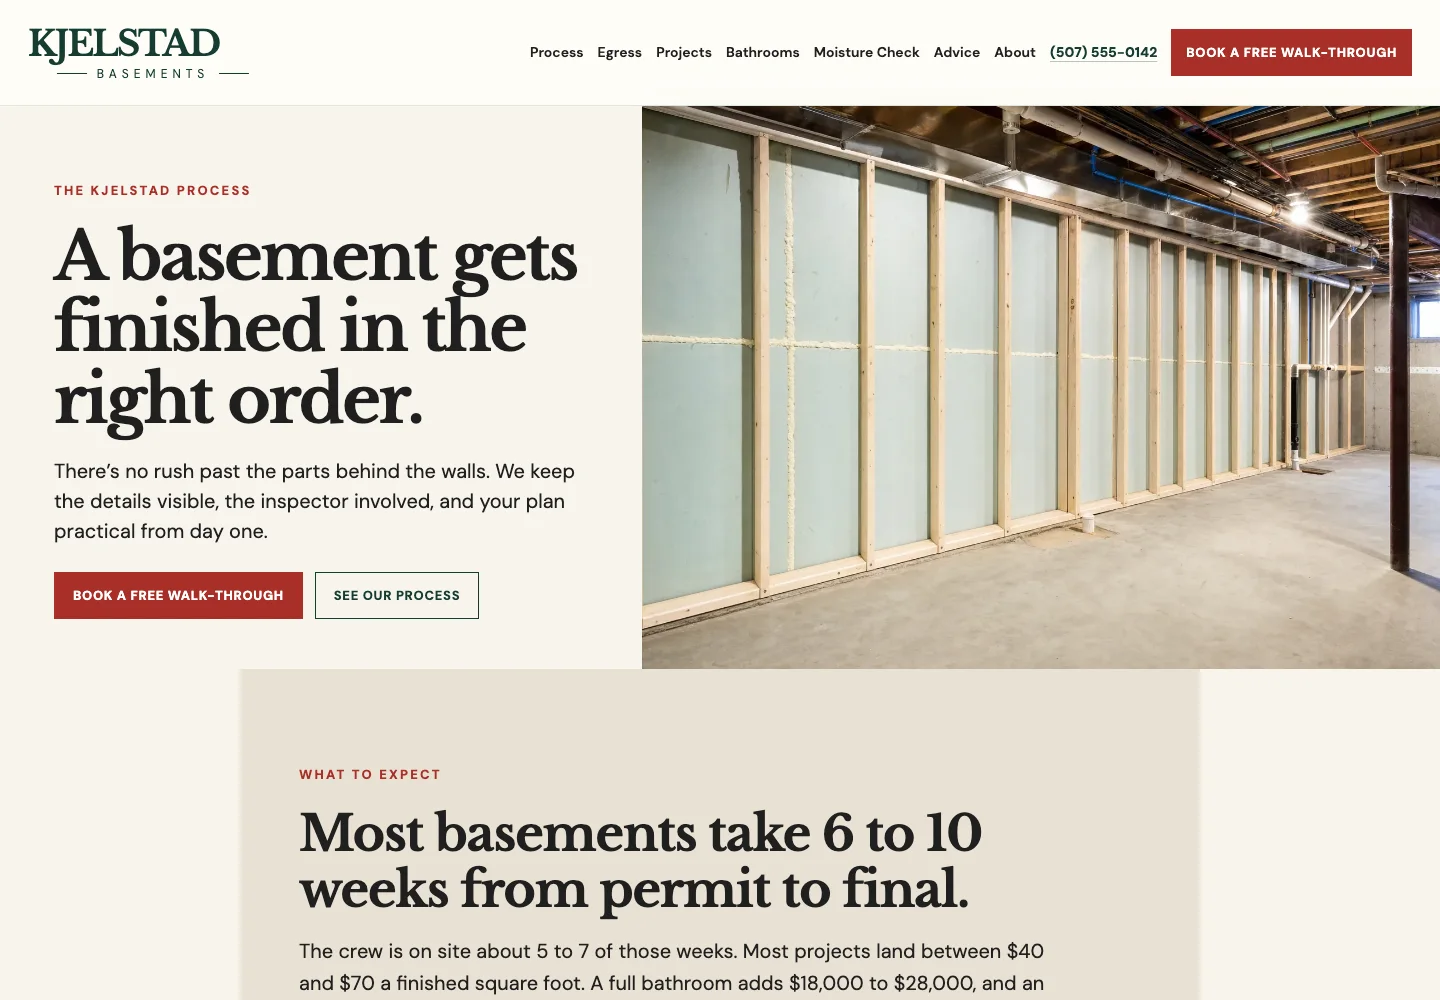
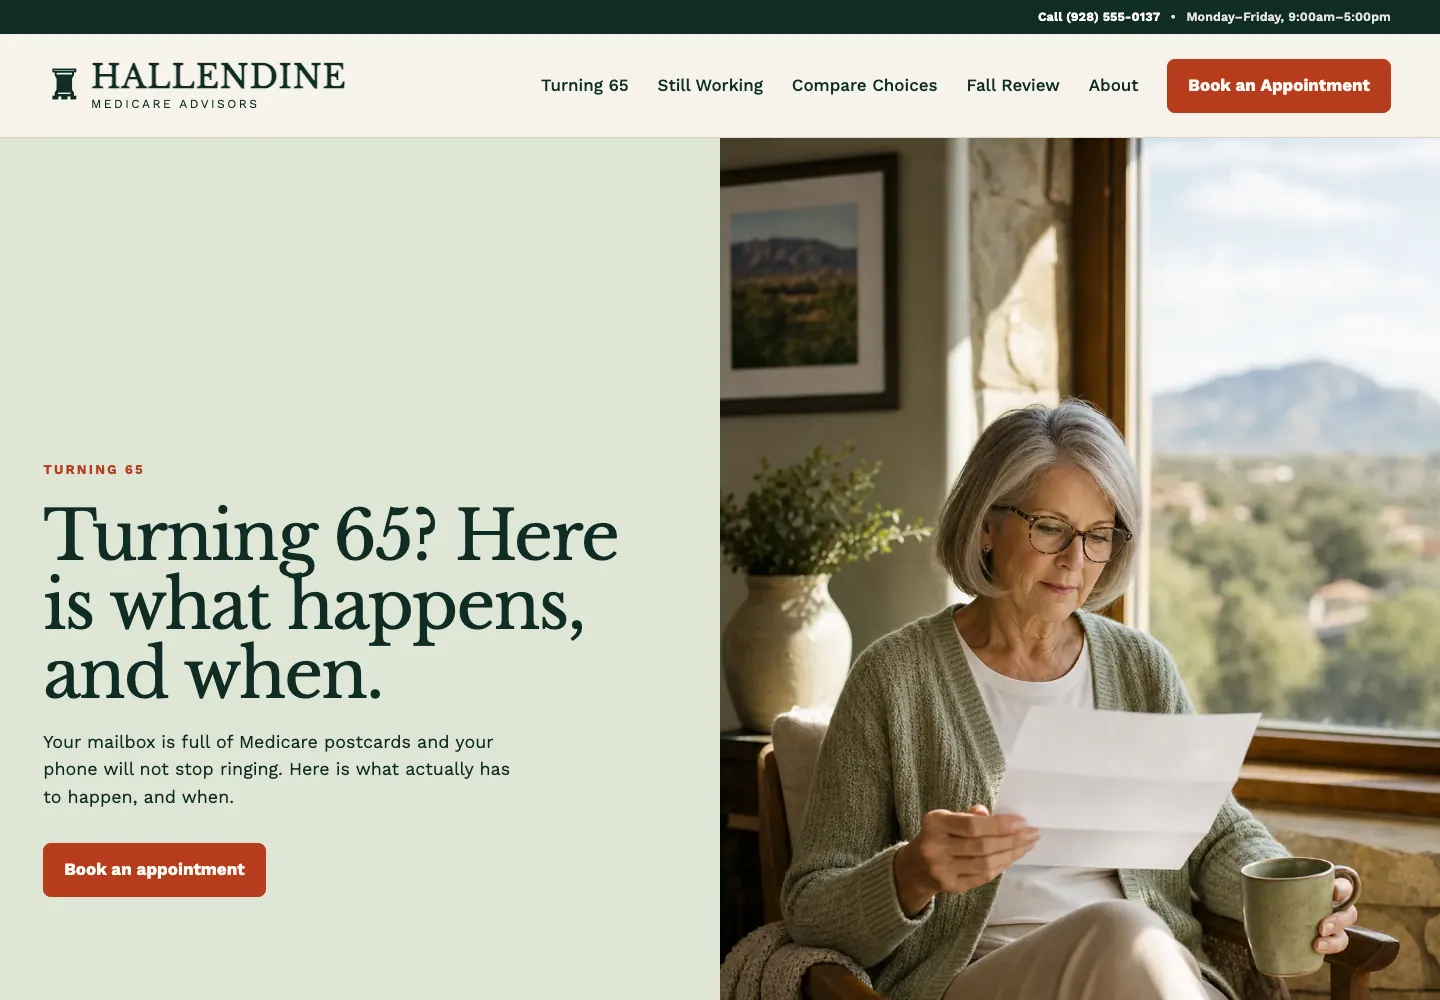
The useful distinction is between a picture that sets a mood and a picture that reduces doubt. A landscape photo may make a page feel finished. A photo of the crew, premises, finished project or product helps a visitor decide whether the business is real and relevant. Keep the original file, who owns it and any permission needed to use it. Do not pull images from a competitor or a general image search and hope for the best.
When a customer quote is used, keep the wording truthful and get permission for the name, business and photo before publishing. If permission is not available, leave the identifier out rather than inventing a person or polishing the story into something the customer did not say. The website design process explains why proof should be gathered before the layout hardens around it.
| Material | What makes it ready | Where it usually helps |
|---|---|---|
Project or product photo | Original file, clear subject, permission to use it and a note on what it shows | Service page, portfolio or product page |
Testimonial or review | Accurate wording, approved attribution and a clear connection to the offer | Service page, proof section or contact path |
Credential or license | Current name, number or issuing body when relevant, and confirmation that it is public | About page, service page or footer |
Team detail | Correct role, name, photo permission and a short relevant introduction | About page or specialist service page |
3. Build each page around a customer question
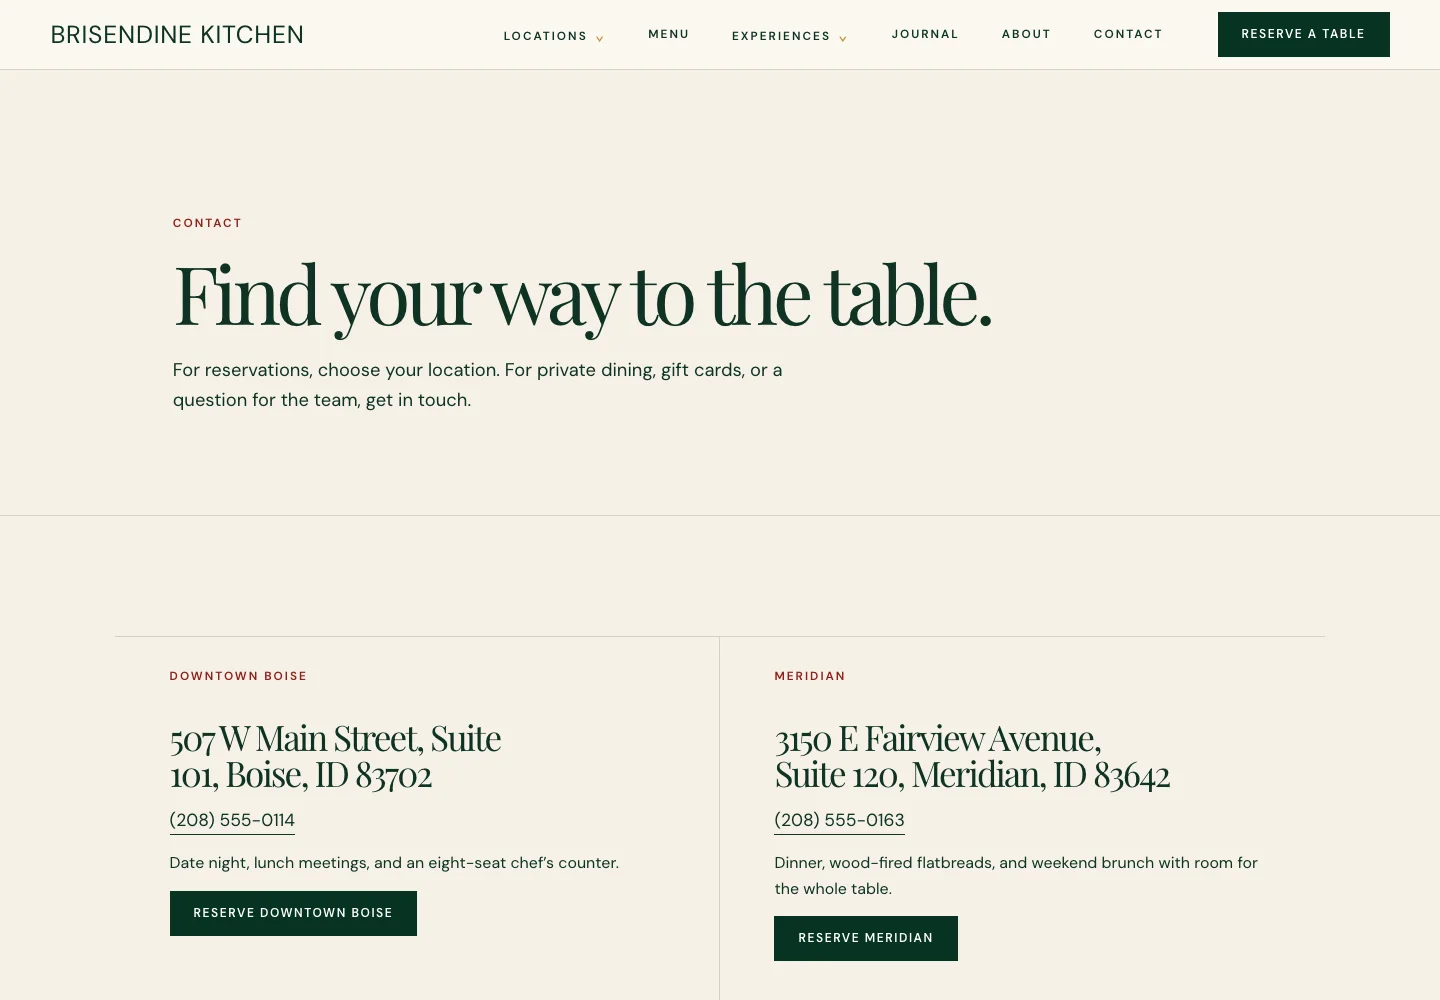
Do not collect one long document called “website copy” and hope someone sorts it out later. Make a small content brief for each page. The first column is the customer's question. The second is the answer, proof and next step that page needs. The third is the person who can approve the facts. This makes missing information visible without turning a project into a maze of folders.
A homepage should quickly explain what the business does, who it helps and what to do next. A service page needs the scope, fit, process, proof and contact path for that service. An about page needs the people, experience or working approach that supports trust. A contact page needs a reliable way to start, plus the practical details a visitor will look for before reaching out.
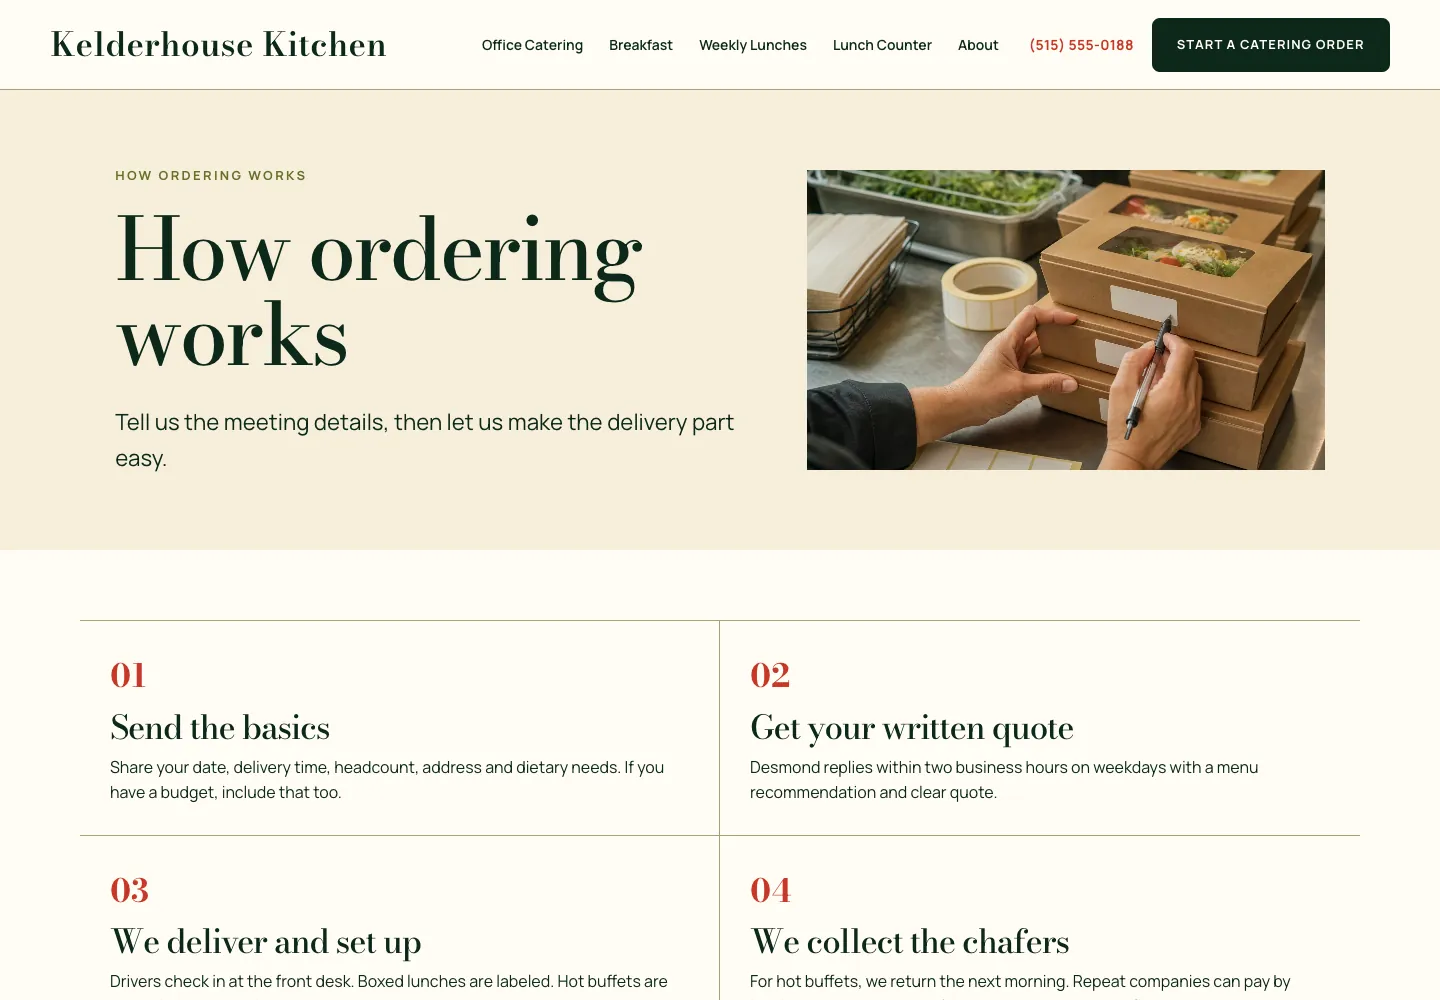
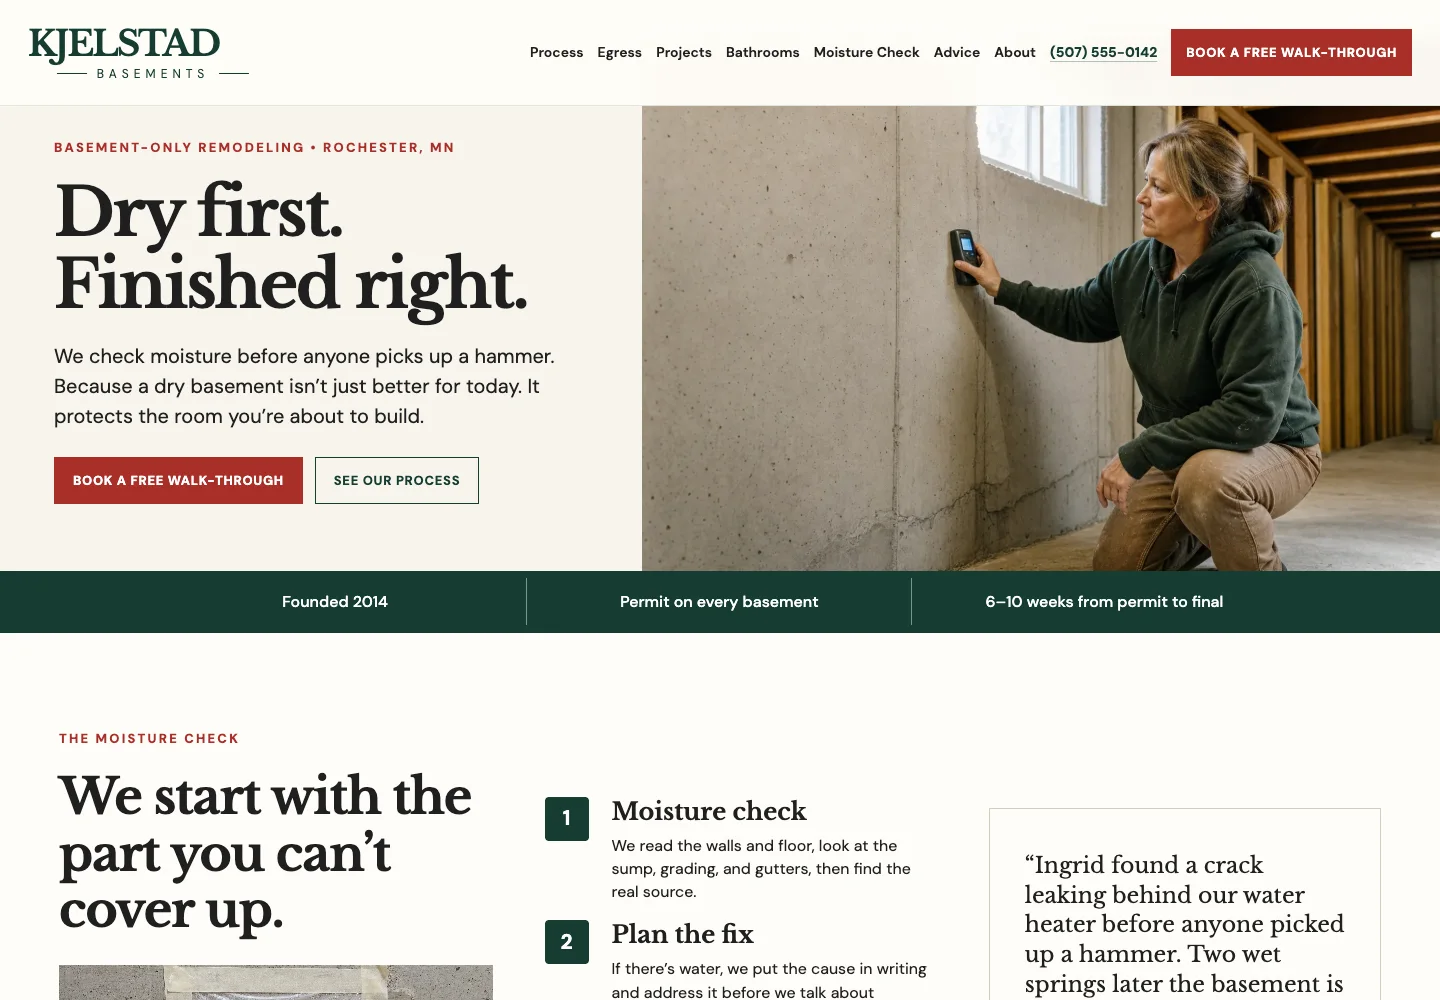
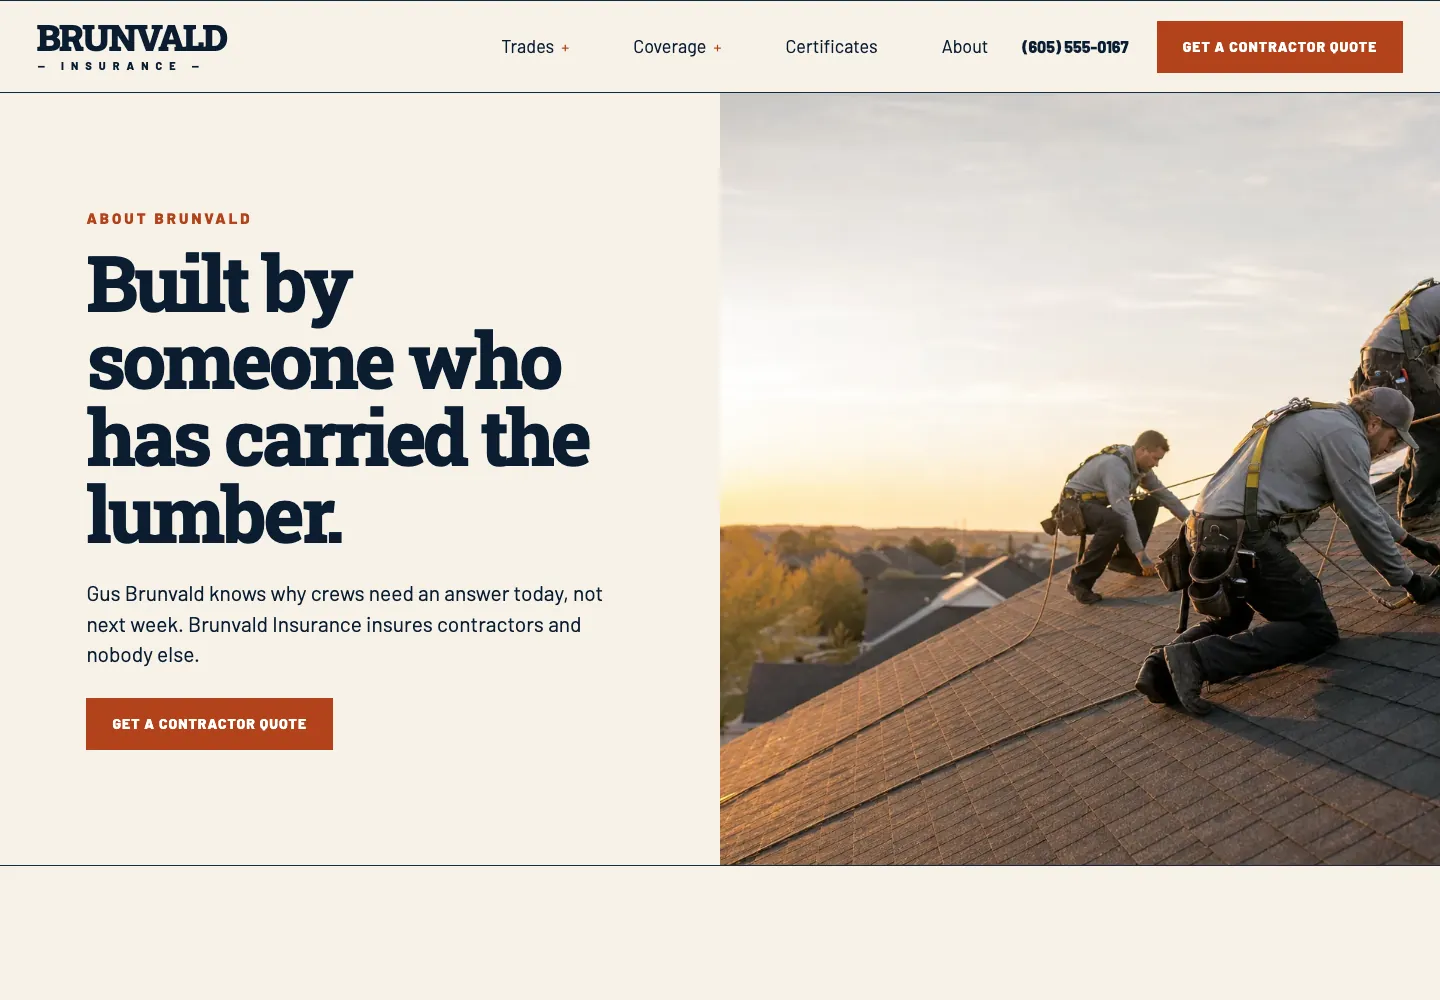
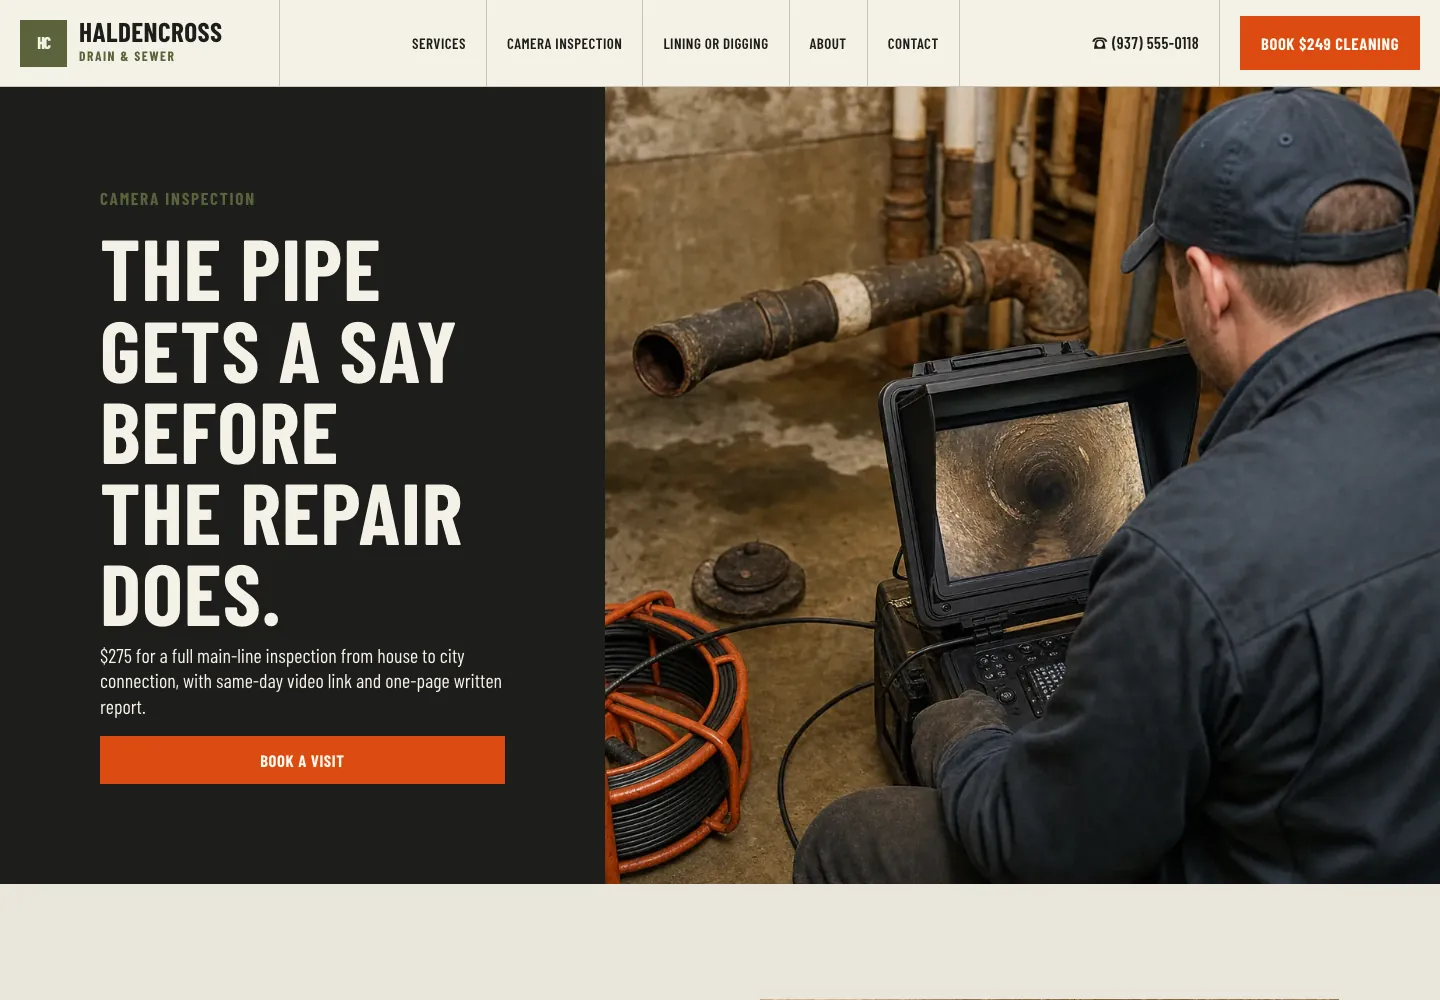
Use the service page examples, contact page examples and FAQ page examples to see how those jobs differ. The goal is not a fixed page count. It is giving each important question one clear home, so visitors do not need to guess which page contains the answer.
4. Make the words easy to scan and verify
A first draft does not need to sound like an advertisement. It needs to make a factual promise the business can keep. Start each page with the answer a visitor came for, use headings that say what the section contains, and break complex information into short paragraphs, lists or tables. The W3C's writing guidance recommends clear language, descriptive headings and meaningful links, all of which make information easier to use.
Read every important claim aloud with the person responsible for delivering it. Ask: Is this still true? Would a customer understand it without an internal explanation? Can we show evidence? If the answer is no, narrow the wording, add the missing detail or remove it. That review is especially important for turnaround times, availability, qualifications, geographic coverage and pricing.
Give every page a named owner for approval. One person may supply the facts, another may write or shape the page, and the owner may approve the final promise. The checklist is not asking everyone to become a copywriter. It is making sure the person who knows the business can correct the record before visitors see it.
- Lead with the answer, then add the details a visitor needs to decide.
- Use customer words for services, not internal labels or broad slogans.
- Give numbers, qualifications and time claims a source and an approver.
- Use descriptive headings and links that say where they lead.
- Keep one approved version of a fact instead of copying it into unrelated documents.
5. Separate launch essentials from later improvements
A missing video, a future case study or a refreshed team photo should not stop a useful website from opening. Missing contact details, unclear services, unapproved claims and broken customer paths should. Label each item as launch essential, useful soon or later. That creates a realistic order without quietly publishing placeholder text.
For a first launch, focus on the pages closest to a customer decision: a clear homepage, the main services or products, practical proof, an honest contact path and any policy pages the business needs. Add resource articles, extra galleries and secondary pages after the foundations are accurate. The website design checklist gives a broader page-by-page review when the content pack is ready.
If the project is a redesign, add one more list: what the existing site already does well and must not lose. That might be a page that customers rely on, an established booking path, a popular guide, a familiar phone number or a piece of hard-won proof. The website redesign guide covers the practical checks for moving an existing site without treating every old page as disposable.
Download the website content checklist
Use the small-business website content checklist to make one record for every page before a new build, redesign or major update. Start with the homepage and main customer path, then work outward. If a detail is missing, write what is missing, who can answer it and when it is needed.
The best content pack is not the biggest. It is the one a visitor can use and a business can stand behind. Accurate facts, relevant proof, useful images and clear approvals make the design work easier and give customers fewer reasons to hesitate.
What should be on a website content checklist?
Include the business facts, the goal of each page, service or product details, prices or price guidance where the business publishes them, proof, images, contact details, legal documents that must be shown, the source of each claim and the person approving it.
Do I need all my website content before design starts?
No. Start with the homepage, main offers, customer questions, contact path and the proof that shapes the first important pages. Mark later items clearly. A project can move with an honest priority list, but it should not launch with empty pages or promises nobody has confirmed.
What images should a small business provide for a website?
Provide the best original photos of the team, premises, products, completed work and process, plus any rights or permission to use them. Include a note about what each image shows. These images are usually more useful than generic stock photos because they help a visitor judge the actual business.
Who should approve website content?
The person who owns the business facts should approve claims about services, prices, availability, qualifications and policies. A designer or writer can improve clarity, but they should not invent facts or make promises the business has not approved.
How do I organize content for a website redesign?
Make a page-by-page inventory of the existing site, then label what stays, improves, merges or retires. Record any pages, customer paths or proof that must not be lost. Gather replacement copy and images before removing the old version.
Can I use rough notes instead of finished copy?
Yes. Rough notes are a good start when they identify the actual service, customer question, proof and owner who can confirm the facts. They are much safer than polished placeholder copy because a writer or designer can shape real information without guessing.
What is the most important content to prepare before launch?
Prepare the accurate description of what the business offers, who it is for, how to make contact or buy, the details that affect the decision and the proof that supports the promise. A customer should be able to understand the business and take the next step without needing to call just to discover basic facts.
Give every page something real to say
The fastest way to make a website more useful is not to add more words. It is to gather the right facts, proof and decisions, then put each one where a customer needs it. Theo can turn that material into a clear small-business website design project and keep the website current as the business changes.
More like this in the guides and under building a small business website. The audit numbers quoted across these posts are in Theo's research.